SHINEMASTER P7 G2 1200W ROTARY SUPER POLISHER
NO SCRATCH 1200W ROTARY SUPER POLISHER
Polish your paint to a high-shine without spending a load of cash on a polisher. The No Scratch 1200W Rotary Super polisher is good to go for paint-correcting, polishing and cleaning.
The no Scratch 1200W Rotary Super polisher is supplied with 6 speed zones which makes it ideal for every job, from paint-correction to a high shine. This Rotary is constructed for 230V electricity…
PRODUCT INFORMATION:
- Professionally manufactured for the automotive paint care industry
- Ergonomically designed to reduce fatigue in long term operation
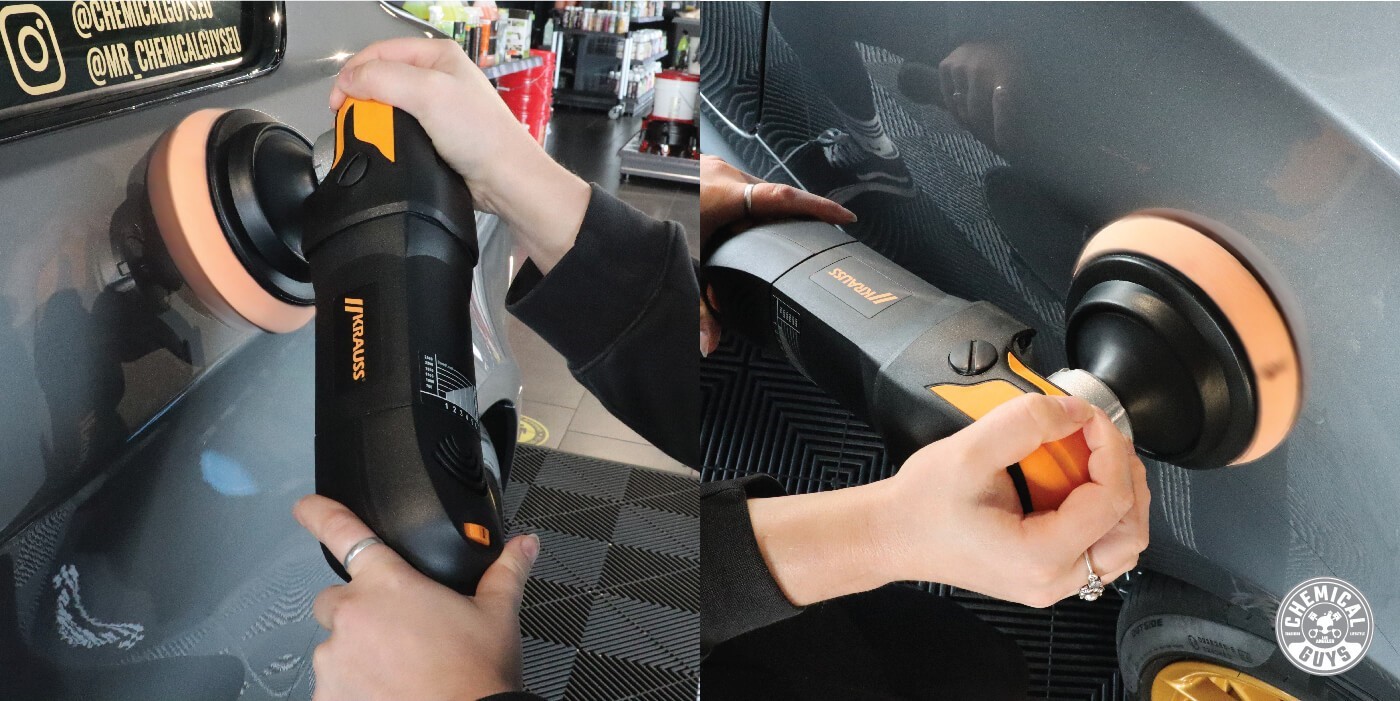
- Unit provides several different hand-held positions which facilitates polishing at various angles
- Lightweight only 2,2kg
- Designed to maintain constant output speed, with soft-start
- Double-deduction gearing system provides two times the torque of a single gear set polisher
- Comes with one 125mm Flexible Edge Backing Pad in Polyurethane molded
SPECS
Voltage: 220-240VAC, 50/60Hz.
Power Consumption: 1.200W
No-load Speed: 680 – 2.500rpm
Thread Connection: M1
Backing Pad:  max. 165mm
Foam Pad/Lambs wool max. 180mm
Weight: 2,2kg
Gear System: Two-level Deduction
* Suggested to work with 80, 125 or 150mm polishing pads.
ELECTRICAL SAFETY
- Power tool plugs must match the Never modify the plug in any way. Do not use any adapter plugs with earthed (grounded) power tools. Unmodified plugs and matching outlets will reduce risk of electric shock.
- Avoid body contact with earthed or grounded surfaces such as popes, radiators, ranges and There is an increased risk of electric shock if your body is earthed or grounded.
- Do not abuse the Never use the cord for carrying, pulling or unplugging the power tool. Keep cord away from heat, or sharp edges or moving parts. Damaged or entangled cords increase the risk of electric shock.
INSTALL AND REMOVE ACCESSORIES
- To install hook and loop pads, unplug the tool and place it on a tool rest with spindle
- Use wrench to lock the spindle. Then attach hook and loop backing pad onto
- Spin the backing pad clockwise until it is securely hand
- Align the backing pad with the foam pad’s recessed area, attach the foam pad to the backing pad, and make sure the backing pad fastens the foam pad.
- To remove, “peel” oft the foam Use wrench to lock the spindle, and rotate backing pad counter clockwise to remove.
STARTING, STOPPING AND CONTROLLING SPEED
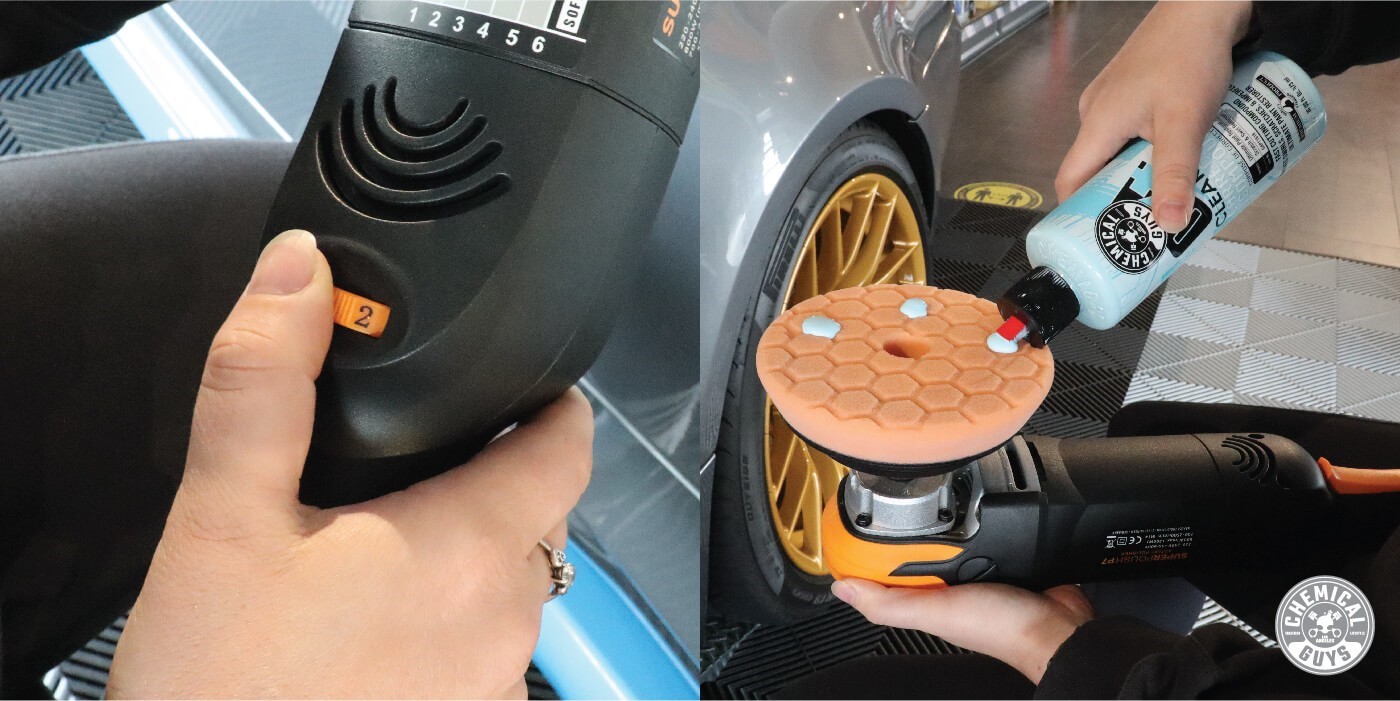
The polisher features a dial speed control, which controls the polishers‚ maximum rotations per minute. The speed will remain variable to the chosen dial setting by use of the trigger switch. Dial settings range from 1 through 6.
Lower numbers correspond to lower speeds and higher numbers correspond to higher speeds. Generally, lower speeds are recommended tor tight work areas and higher speeds are ideal for large surface areas. Use the setting that best suits your job. To control the speed, set the dial to the desired number. To start the tool, pull the trigger. To stop the tool, release the trigger. For continuous operation, press the switch
lock button to lock the trigger, pull the trigger again to stop the tool.
POLISHING
While holding the polisher firmly against the surface, turn on the polisher to begin. Always start and stop the polisher on or against the surface being polished. Begin by polishing larger flat surfaces, such as hood, trunk and roof. Do not press down on the surface with the polisher. Use across-the-board strokes in a crisscross pattern on flat surfaces.
Too much pressure, the wrong angle or improper motion may cause swirl marks or burning. For detailed polishing instructions, read the instructions provided with your finishes, waxes and polishes.
PREVENTING BURNING THROUGH PAINT
lt is easy to burn through the paint on a surface. This can occur if you polish at too high a speed or if you allow the polishing pad to stay in one spot for even a short period of time. To prevent burning through paint, use very light pressure and keep the polisher moving constantly, especially when working near edges or where there are abrupt changes in the contour of the work surface.
MAINTAINING TOOLS
Keep your tool in good repair by adopting a regular maintenance program. Before use, examine the general condition of your tool. inspect switches, tool cord set and extension cord tor damage. Check for loose screws, misalignment, binding of moving parts, improper mounting, broken parts and any other condition that may affect its safe operation. If abnormal noise or vibration occurs, turn the tool off immediately and have the problem corrected before further use. Do not use a damaged tool. Tag damaged tools “DO NOT USE” until repaired. Under normal conditions, relubrication is a not necessary until the motor brushes need to be replaced. After six months of one year, depending on use, return your tool to the nearest service facility for the following:
- Lubrication
- Brush inspection and replacement
- Mechanical inspection and cleaning (gears, spindles, bearings, housing, )
- Electrical inspection (switch, cord, armature, )
- Testing to assure proper mechanical and electrical operation

